Bought a laser cutting machine but don’t know how to install it?
Don’t worry! We’ll guide you through the whole process step by step. In this episode, we are serving a customer in Zhucheng City, Shandong Province, whose factory is already equipped with another brand of laser equipment. As production capacity expands and processing requirements keep upgrading, the customer finally chose ZORYOR and placed an additional order for a higher-power machine to further boost production efficiency and strengthen processing capabilities.
Once the equipment arrives on-site, we first work with the customer to confirm the optimal installation position, accurately plan and reserve sufficient space for loading, unloading, and safe operation. This maximizes workshop space utilization, optimizes production flow, avoids cross interference between processes, and effectively ensures efficient long-term production.
Step 1: Unpacking & Comprehensive Inspection.
We unpack the equipment together with the customer, then conduct a full inspection of the entire machine’s appearance and core components. Key checks include physical damage from transportation, loose parts, cracked lenses (collimating lens / protective lens), detached pipelines, and more. We verify every item with the customer; only after confirming the machine is intact and all accessories are complete do we officially begin installation.
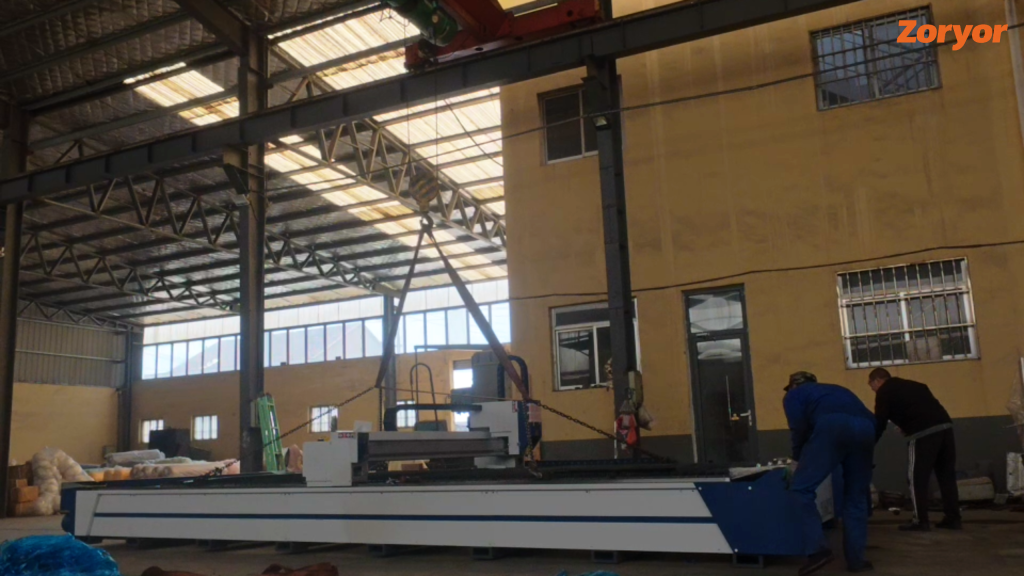
Step 2: Machine Leveling & Foot Bolt Fastening.
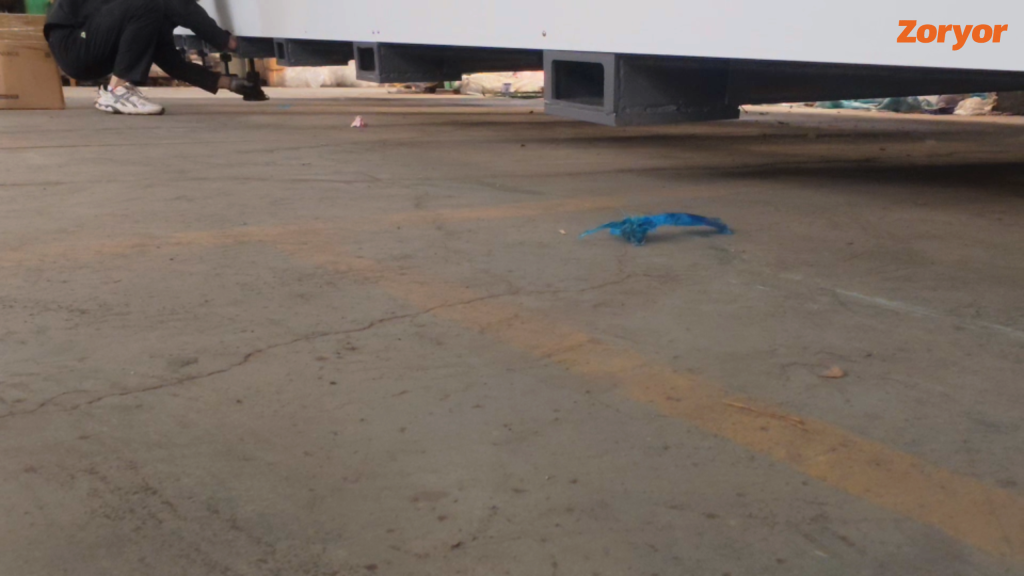
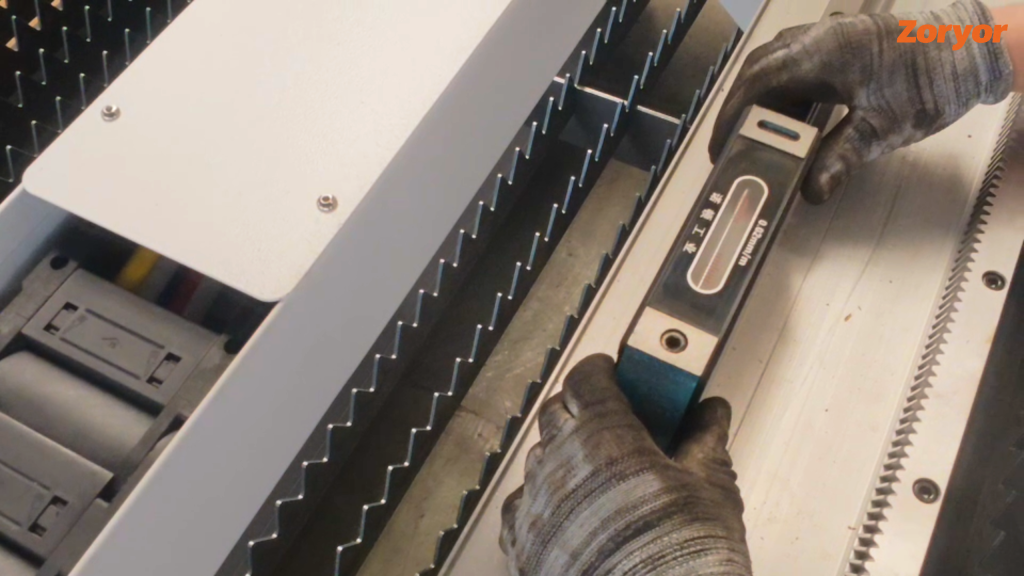
First install the machine feet and finely adjust their height, monitored in real time with a spirit level to ensure the workbench and bed are perfectly horizontal, with the level bubble precisely centered. The feet effectively compensate for uneven flooring. After installation, we tighten all foot bolts one by one and install lock washers to prevent loosening from machine vibration during operation, guaranteeing long-term cutting accuracy.
Step 3: Laying High-Temperature Resistant Protective Materials.
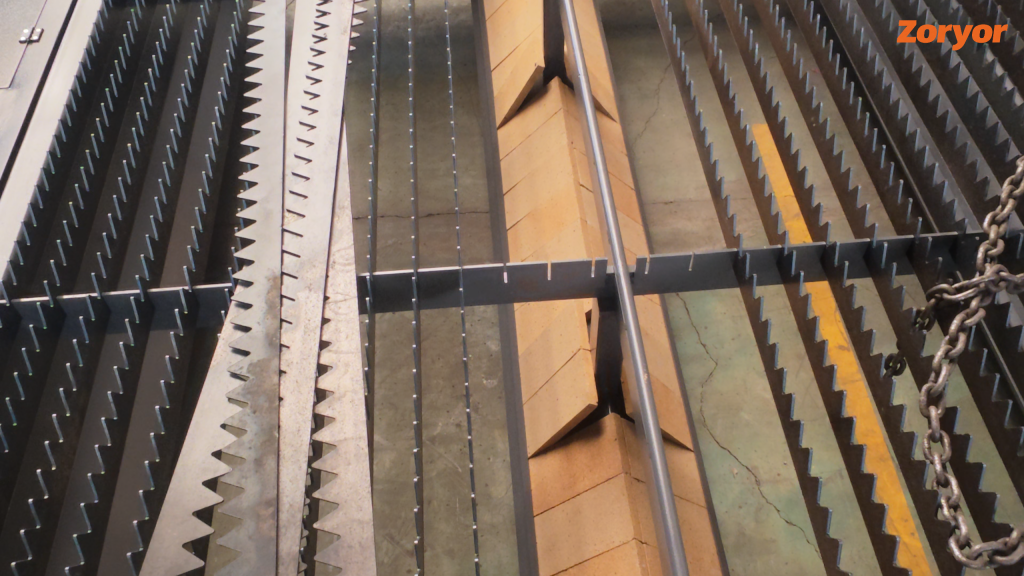
Neatly lay refractory bricks below the machine bed and at corresponding discharge openings, covering all stress and high-temperature heat dissipation areas and securing them firmly to prevent shifting. Refractory bricks effectively insulate against cutting heat, avoiding thermal deformation, cracking, and other damage to the bed and discharge opening over time. We have previously seen customers whose equipment developed discharge opening deformation after three years of use due to missing refractory bricks — making this step critical.
Step 4: Standardized Power Connection & Component Power-On Testing.
Before connecting power, inspect the electrical cabinet and wiring for integrity, ensuring no damage or looseness. Power is connected step by step per standard procedures: first the main machine power, then the laser cutting head, laser source, chiller, and dust removal system in sequence. After powering on each component, we verify normal indicator lights and no abnormal noise before proceeding.
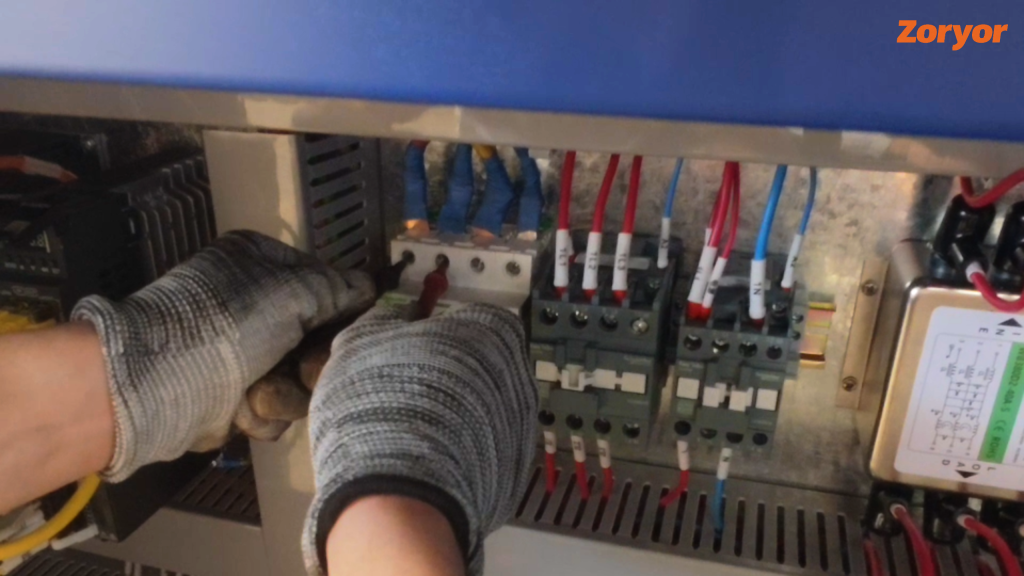
Step 5: Industrial PC Installation & Communication Debugging.
Accurately connect the industrial PC to the corresponding ports in the equipment cabinet, ensuring tight, reliable connections, then install the monitor, mouse, and keyboard. After power-on, we test communication stability between the computer and equipment to ensure precise, smooth transmission of operating commands.
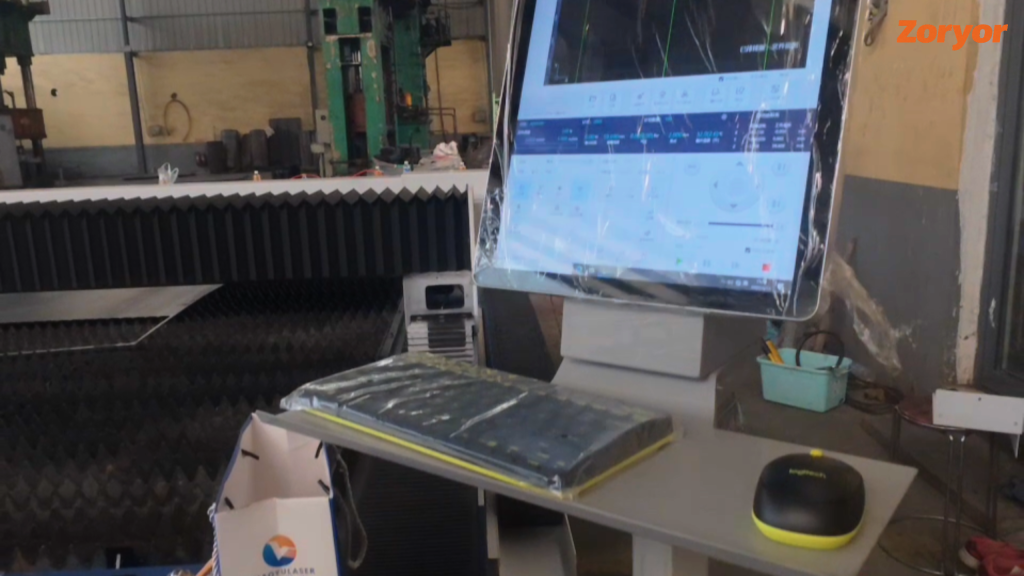
Step 6: Workbench Blade Bar Reset and Fixing, and Bellows Protective Cover Installation.
Arrange all workbench blade rests neatly and evenly, then fasten the fixing screws one by one to ensure each blade rest is flat, secure, and warpage-free. This prevents deformation and lifting of blade rests under cutting heat, avoids contact with the cutting head, and ensures both operational safety and cutting accuracy. Meanwhile, complete the installation and inspection of the bellows cover: Secure both ends of the bellows cover to the two sides of the machine guide rail and the moving beam respectively, then adjust its position to ensure smooth extension and retraction without twisting or jamming, so that it fully covers the internal guide rails and racks. This effectively prevents the blade bars from deforming and warping due to high cutting temperatures and avoids contact with the cutting head. At the same time, the bellows cover blocks sparks, dust and molten slag, protecting the precision internal transmission components. This ensures both safe equipment operation and long-term cutting accuracy.
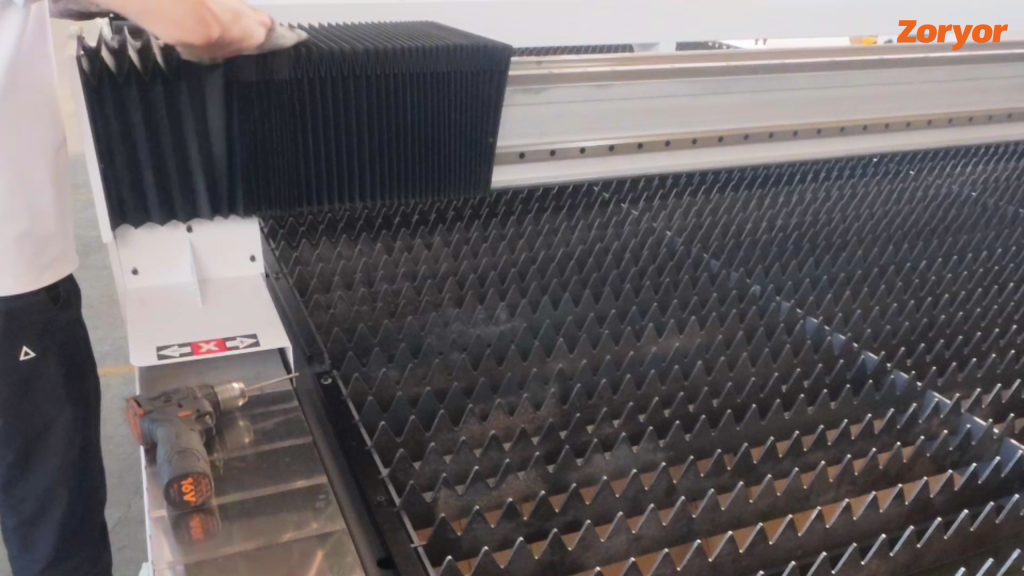
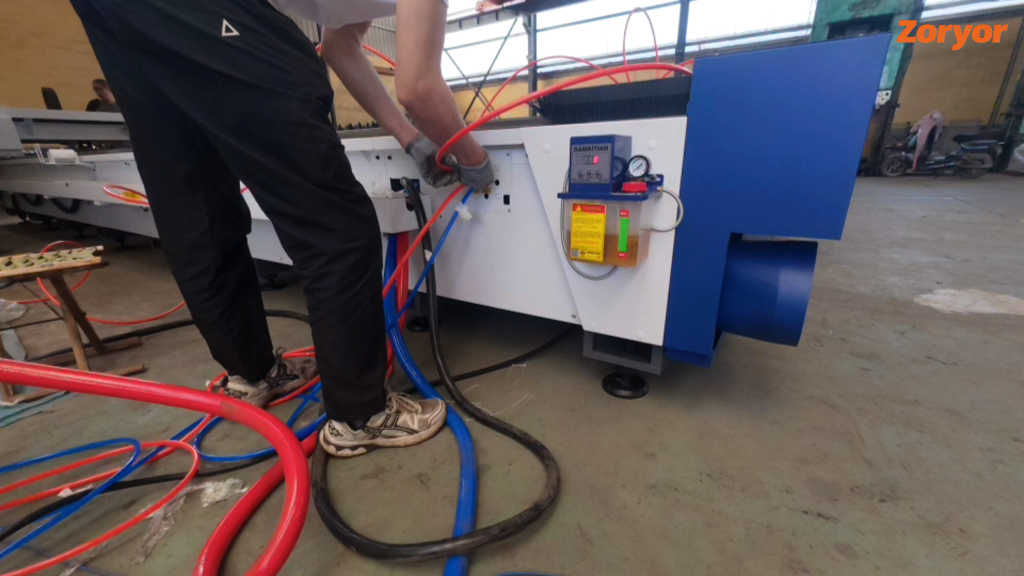
Step 7: Chiller Installation & Circulation System Debugging.
Place the chiller in a well-ventilated area, connect the water cooling pipelines, and fill with filtered purified water (tap water is strictly prohibited, as it may cause scale buildup that clogs pipelines and damages lenses). After filling, start the chiller to bleed air from the pipelines and ensure smooth water circulation. Then connect the cooling interfaces for the laser source and cutting head, check for leaks, and the water cooling system is fully installed.
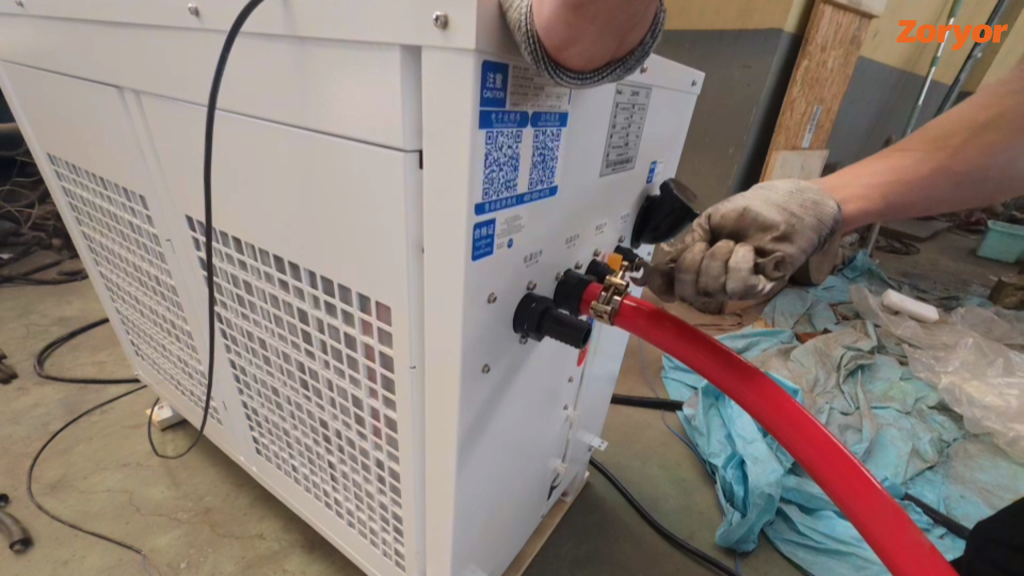
Step 8: Auxiliary Gas Installation & Air Tightness Testing.
Gases are selected based on the customer’s cutting needs: oxygen for carbon steel, compressed air for thin sheets and non-metallic materials. Accurately connect gas cylinders to the machine’s air circuit, seal and fasten securely, then perform an air tightness test to ensure no leaks. Gas pressure is adjusted to the standard range to guarantee stable cutting air supply.
Step 9: Full Machine Power-On Test & Customer On-Site Training
After powering on the entire machine, we run it without load to check the operation of the cutting head, guide rails, water cooling, dust removal, and other systems. Once confirmed normal, we use on-site leftover materials to adjust parameters such as cutting speed, power, and air pressure according to the customer’s actual material and thickness, completing a test cut with burr-free, smooth cutting surfaces. We also provide on-site training for the customer’s operators, covering operating procedures, parameter adjustment, routine maintenance, and other key points. Only after the customer confirms the equipment runs properly and meets cutting standards is the entire installation and commissioning successfully completed.
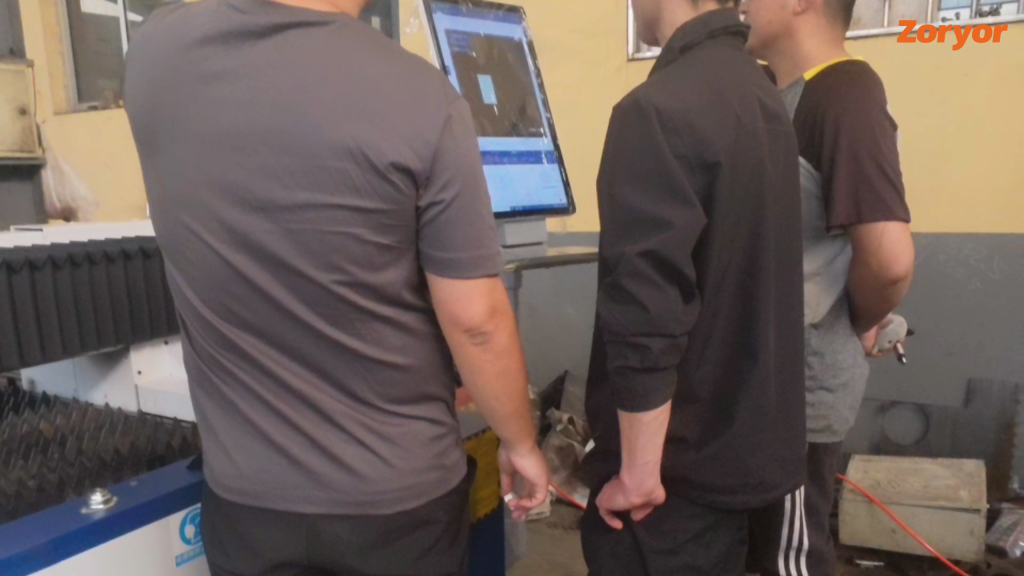
With the test cut finished and approved by the customer, the installation and commissioning of this ZORYOR high-power laser cutting machine is officially concluded. From the customer’s choice to switch to our brand over their existing equipment, to every standardized installation and precise adjustment step, this all demonstrates ZORYOR’s quality and service strength. We wish this machine supports the Shandong customer’s production capacity upgrade, improves processing efficiency, and reduces production costs. ZORYOR will continue to safeguard the customer’s production operations moving forward!
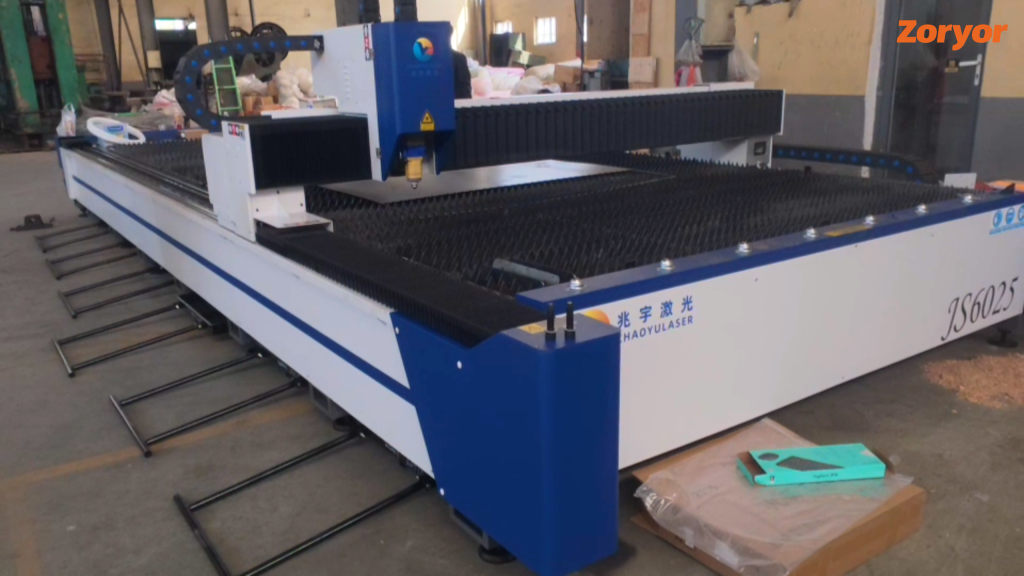
That’s all for today’s content. Feel free to leave your comments and let’s make progress together.